
The Step-by-Step Plan to Install Solar Film Efficiently
Key Takeaways
- Preparation of the glass surface is essential to ensure the adhesive bonds without bubbles or debris.
- Measuring and trimming the material accurately prevents light leaks and ensures a professional finish.
- Combining different window treatments allows for tailored light control and enhanced privacy in various rooms.
- Consistent maintenance extends the life of the application while keeping the glass clear and functional.
Introduction
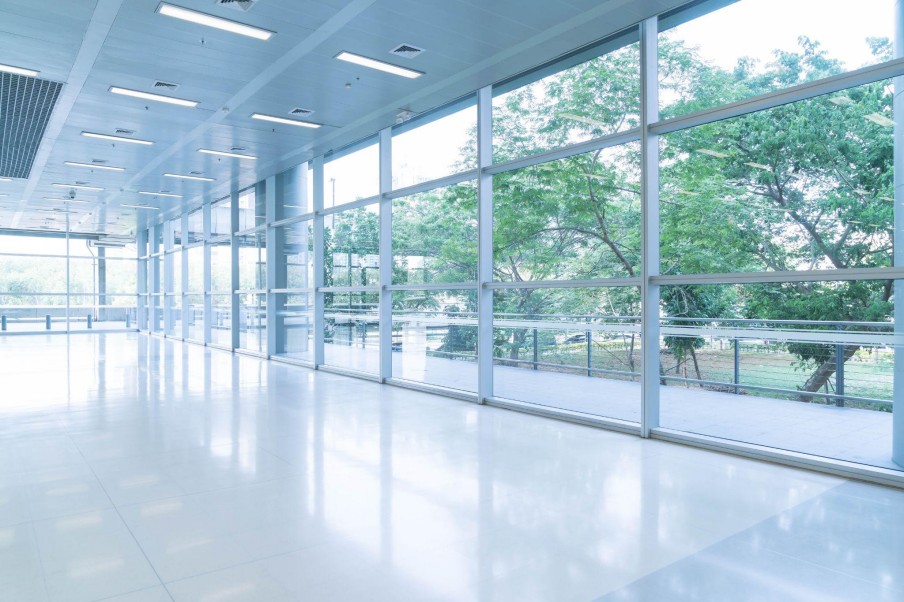
Homeowners often seek ways to manage the intensity of the sun without sacrificing their view of the outside world. Finding a balance between natural light and thermal comfort is a common challenge in urban apartments. Applying solar film offers a practical solution to regulate indoor temperatures while protecting furniture from fading. This process requires a bit of patience and the right tools, but the results significantly improve the daily experience of your living space. By following a structured approach, you can transform your windows into efficient barriers against excess heat.1. Essential Equipment Checklist
Before starting, gather these items to ensure the workflow remains uninterrupted:- Spray Bottle:Filled with a mixture of water and a few drops of mild baby shampoo.
- Squeegee:A firm rubber or plastic tool to remove trapped moisture.
- Utility Knife:Equipped with a brand-new, sharp stainless steel blade for precise cutting.
- Microfibre Cloths:To dry the frames and catch any runoff liquid.
2. Surface Preparation and Measurement
The success of the application depends entirely on how clean the glass is before you begin. Even a speck of dust can create a visible bump under the material, so it is vital to scrub the pane with a soapy solution and a squeegee. Once the surface is spotless, measure the dimensions of the window carefully and add a few extra centimetres to each side to allow for precise trimming later. This buffer ensures that you do not end up with gaps at the edges where light might peek through. After cutting the piece to size, you are ready to handle the adhesive backing with confidence.3. Precise Application and Air Removal
Aligning the sheet with the top of the window frame requires a steady hand and a generous mist of water. Wetting both the glass and the adhesive side of the blackout film or heat-reduction layer allows you to slide the material into the perfect position without it sticking prematurely. Once aligned, use a firm plastic tool to push the water and air bubbles from the centre out toward the edges. This step is where the bond is truly formed, turning a loose sheet into a seamless part of the window structure. Taking your time here prevents the need for future corrections or replacements.4. Final Trimming and Edge Sealing
After the sheet is flat and the bubbles are gone, use a sharp utility blade to remove the excess material along the window gaskets. Keeping the blade pressed firmly against the frame ensures a straight line that looks like it was installed during the manufacturing process. It is helpful to leave a tiny gap of about two millimetres from the edge to allow any remaining moisture to evaporate properly. Wiping down the borders with a lint-free cloth finishes the job, leaving the glass looking crisp and polished. This final touch secures the edges and prevents them from peeling over time due to humidity or cleaning.5. Compare Window Solutions
| Feature | Solar Film | Blackout Film |
| Light Transmission | High (Maintains View) | Zero (Total Darkness) |
| Heat Rejection | Substantial | Moderate |
| Privacy Level | Daytime One-Way | Full 24-Hour Privacy |
| Best Room Use | Living Rooms / Kitchens | Bedrooms / Media Rooms |